Removal
ENGINE HOOD / DOOR: HOOD LOCK CONTROL CABLE ASSEMBLY: REMOVAL
1. REMOVE FRONT WHEEL
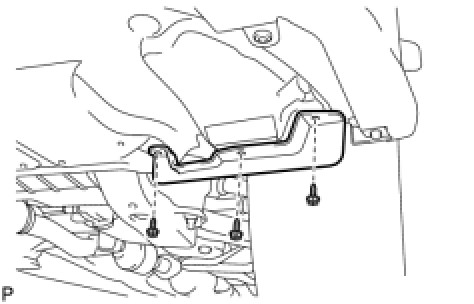
2. REMOVE FRONT WHEEL OPENING EXTENSION PAD
(a) Remove the 3 screws and the front wheel opening extension pad.
3. REMOVE COOL AIR INTAKE DUCT SEAL (for 2GR-FE) Removal
4. REMOVE FRONT BUMPER ASSEMBLY Removal
5. REMOVE FRONT FENDER LINER
(a) Remove the 5 clips and bolt.
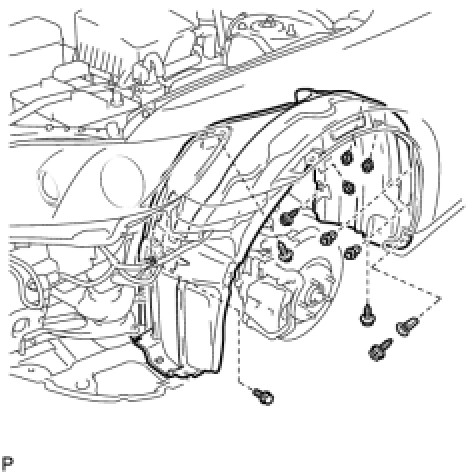
(b) Remove the 4 screws, grommet, and the front fender liner.
6. REMOVE HIGH PITCHED HORN ASSEMBLY Removal
7. REMOVE HOOD LOCK ASSEMBLY (w/o Engine Hood Courtesy Switch)
(a) Remove the 3 bolts.
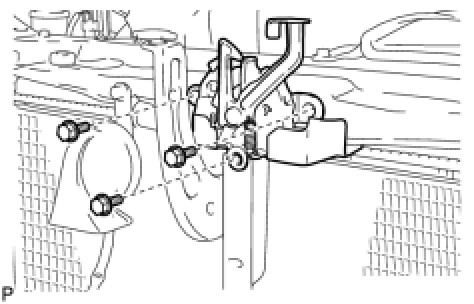
(b) Disconnect the hood lock control cable.
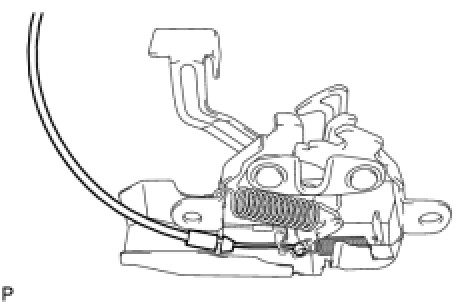
(c) Remove the hood lock assembly.
8. REMOVE HOOD LOCK ASSEMBLY (w/ Engine Hood Courtesy Switch)
(a) Disconnect the connector.
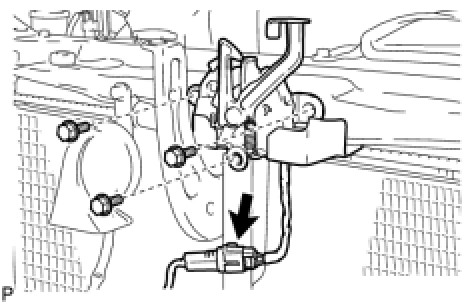
(b) Remove the 3 bolts.
(c) Disconnect the hood lock control cable.
(d) Remove the hood lock assembly.
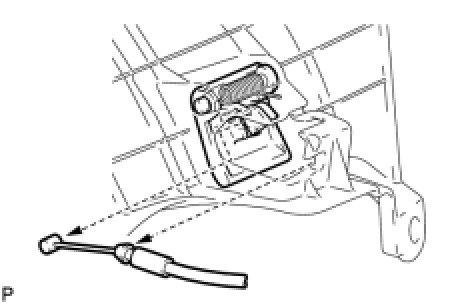
9. REMOVE HOOD LOCK CONTROL LEVER SUB-ASSEMBLY
(a) Disconnect the hood lock control cable and remove the hood lock control lever.
10. REMOVE HOOD LOCK CONTROL CABLE ASSEMBLY
(a) Using a screwdriver, disconnect the clamps shown in the illustration.
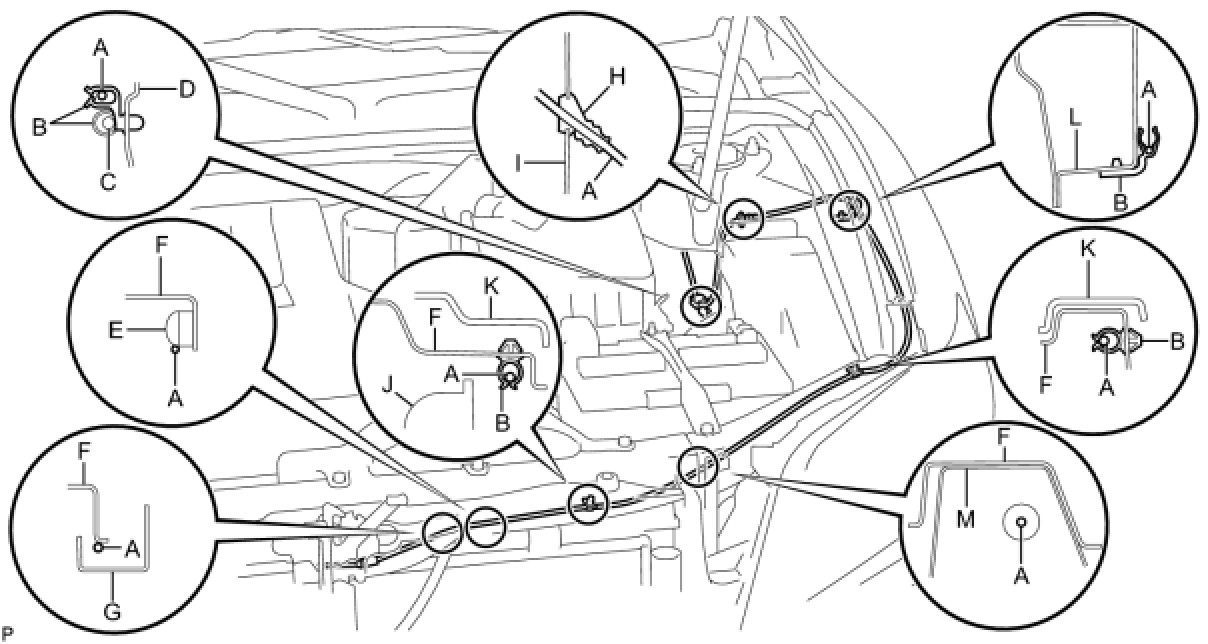
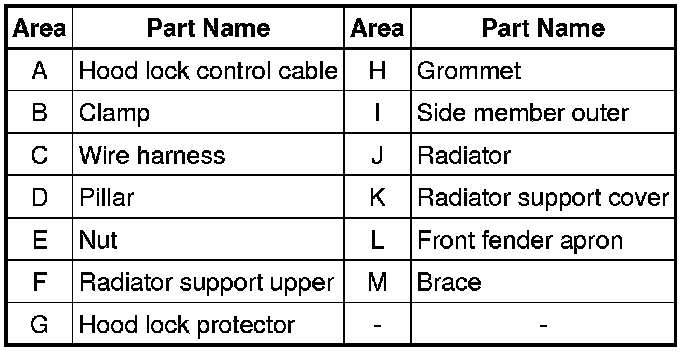
HINT
Tape the screwdriver tip before use.
(b) Pull the cable from the engine compartment and remove it.